


Have you ever sent a critical email that seems to have vanished into thin air? Or perhaps you’ve been mysteriously blocked from accessing a website you regularly visit. These frustrating digital roadblocks often have a common, unseen culprit: your IP address may have landed on a blacklist. For system administrators, small business owners, and power users, understanding the answer to “is my ip blacklisted?” is the first step toward resolving serious connectivity and deliverability issues.
1. What Exactly is an IP Blacklist?
An IP blacklist, technically known as a DNS Blacklist (DNSBL) or Real-time Blackhole List (RBL), is a real-time, curated database of IP addresses that have been identified as sources of malicious or unsolicited activity. Think of it as a neighborhood watch list for the internet. Mail servers, firewalls, and security appliances worldwide subscribe to these lists to protect themselves and their users from unwanted traffic.
When your server tries to send an email or connect to another service, the receiving server can perform a quick check against one or more DNSBLs. If your IP address is on the list, the server can choose to reject the connection, filter the email into a spam folder, or flag the traffic for further inspection. The primary goal is to stop spam, phishing attempts, malware distribution, and other harmful activities at the source.

2. How to Check if Your IP is Blacklisted
Fortunately, you don’t have to guess. Several established and reliable online tools can help you determine if your IP is on a blacklist. These services cross-reference your IP address against more than 100 of the most common blacklists simultaneously, giving you a comprehensive report in seconds.
2.1. Step 1: Find Your Public IP Address
Before you can check, you need to know what IP address to look for. If you’re checking for your office or home network, you can simply search “what is my IP” on Google. If you’re a system administrator, you’ll know the static IP of your mail server or web server.
2.2. Step 2: Use a Reputable Blacklist Checking Tool
Once you have your IP, use one of the following trusted services:
- MXToolbox: One of the most popular and comprehensive tools available. It provides detailed results and links to the delisting process for many RBLs.
- Blacklistalert.org: A simple, fast tool that checks your IP against a wide range of blacklists and provides a clear “OK” or “LISTED” status.
- MultiRBL: Another excellent free service that checks a massive list of both public and private DNSBLs.
These tools will give you a clear answer to “is my ip blacklisted?”. For context, some of the most influential RBLs that these tools check against include Spamhaus, Barracuda, SORBS, and SpamCop.
3. A Structured Action Plan if Your IP is Blacklisted
Discovering your IP is on a list can be alarming, but don’t panic. Following a structured process will help you resolve the issue efficiently and prevent it from happening again.
3.1. Identify the Specific List(s)
The verification tool you used will not just tell you that you’re blacklisted; it will specify which DNSBL your IP appears on. This is the crucial first piece of information.
3.2. Investigate the Cause of the Listing
This is the most important step. Simply getting your IP removed without fixing the underlying problem will only lead to it being re-listed. Visit the website of the RBL that has listed you. They almost always provide a reason or a link to the offending activity. Common causes include:
- Spam Outbreak: A user’s email account on your server may have been compromised and is being used to send spam.
- Malware-Infected Device: A computer, server, or even a phone on your network could be infected with a virus that is part of a botnet, sending out spam without your knowledge.
- Incorrect Server Configuration: Your mail server might be configured as an “open relay,” or you may lack proper DNS records like SPF, DKIM, and DMARC, which verify that your emails are legitimate.
- Shared IP Reputation: If you are on shared hosting, another customer on the same IP could be the source of the problem.
3.3. Resolve the Root Problem
Before you even think about requesting removal, you must fix the issue. This is non-negotiable.
- If it’s malware: Run comprehensive scans on all devices on your network to find and clean the infected machine.
- If it’s a compromised account: Immediately change the password for the affected email account and enable two-factor authentication.
- If it’s a server misconfiguration: Secure your email server, close any open relays, and correctly implement SPF, DKIM, and DMARC records in your DNS.
3.4. Request Delisting
Once you are confident the problem is solved, follow the “delisting” or “removal” process provided by the RBL. This typically involves filling out a form on their website, explaining the issue and the steps you have taken to resolve it. Be aware that this process is not always instant. Delisting can take anywhere from a few hours to several days, depending on the RBL’s policies.
4. The GenRouter Solution: Your Shield Against Blacklisting
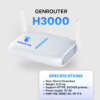
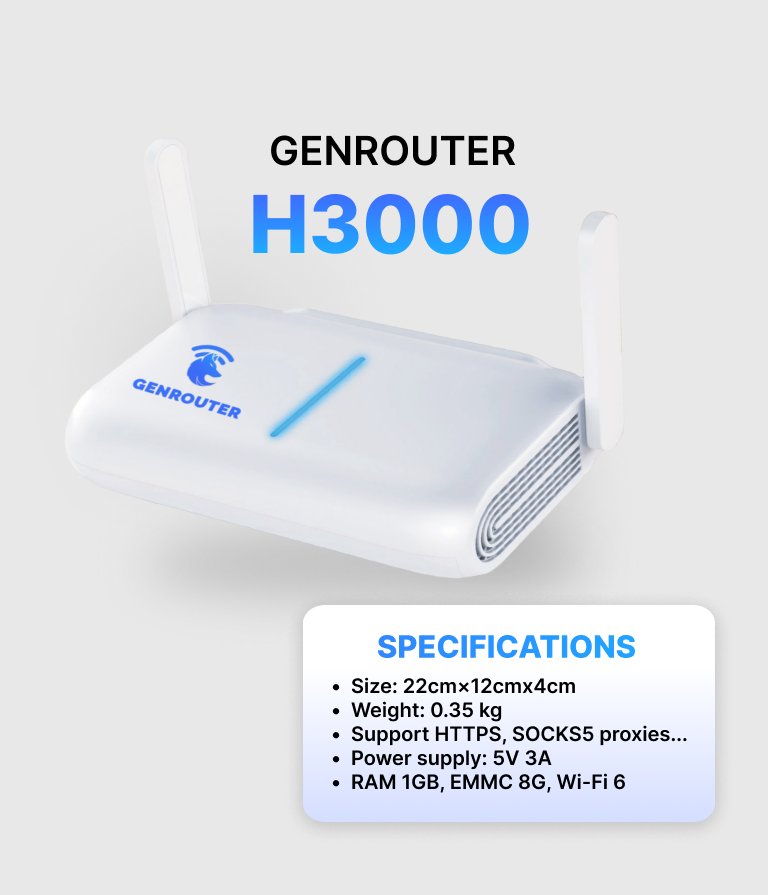
This is where GenFarmer’s ecosystem provides a robust, proactive defense with the GenRouter. Instead of dealing with the fallout from a compromised IP, you can build your operations on a foundation of clean, stable, and fully controllable connectivity. The GenRouter is specifically designed to tackle the root causes of IP blacklisting:
- Create “Ultra-Clean” Proxies: Generate pristine, private proxies directly on the device, ensuring your traffic originates from a reputable source.
- Total Anonymity: GenRouter conceals your digital footprint at the hardware level by masking IP, MAC, WebRTC, and DNS information, making your devices and activities much harder to track and flag.
- Isolate and Conquer: Broadcast up to 32 separate Wi-Fi networks simultaneously, each with a completely different network identity. This allows you to isolate different tasks or account groups, so an issue with one does not affect the others.
- Built for Automation: Engineered for large-scale systems like phone farms and MMO operations, GenRouter provides stable connections for up to 30 devices at once, with the ability to change proxies for all devices with a single click.
By investing in a solution like GenRouter, you turn IP management from a defensive headache into a strategic advantage. Focus on scaling your success, not on constantly fixing blacklist issues.
Conclusion: Proactive IP Management is the Best Defense
Dealing with a blacklisted IP is often a reactive process, but the best long-term strategy is proactive prevention. For digital marketers, MMO professionals, and businesses managing large-scale automated operations, IP reputation is paramount. A single blacklisted IP can jeopardize your entire network of accounts, halt marketing campaigns, and bring your operations to a standstill.
That’s where GenFarmer steps in. We provide a complete ecosystem of hardware and services—from specialized GenRouter to Cloud Phones – designed to give you full control over your network identity. Our solutions help you maintain a pristine IP reputation, ensuring your operations run smoothly and securely.